Showing posts with label MDDN 241 P2B. Show all posts

Friday, 21 June 2013

MDDN 241 P2B final hand in

Final submission after a frantic last ditch effort to get it all done. Finally can sleep.


Too big to upload the video at 371 MB I guess.

I realise this was a rush job as I had to paint weights again so close to the end, but it does get the story across; if only just.

Wednesday, 19 June 2013

Resolution Screw Up


I realised far too late that all my rendered frames were done at the settings 1080 x 720
which actually leaves it with 55 pixel blackline on top and bottom.

This video shows my dilema.

Monday, 17 June 2013

Animation Difficulties

The claws of my character still show up on the branches, I havent figured out how to put a material on something to mask the parts that are supposed to be hidden.

On top of this I also need to figure out how to project shadows onto branches/ground.

I can however finally block out my animation now that I have succesfully exported all my cameras from matchmover.

Saturday, 15 June 2013

Audio hunting / cutting down and more cutting down


I downloaded multiple audiowave plug-ins and it seems all the ones I found were for other versions of maya. I tried wobble and audio animator but they all needed audio nodes from elsewhere.

I have searched jamendo and found some music possible for my clip. I keep listening to it and trying to trim them, as they seem to sound best in 20sec snippets but I really think the story could be told in 45 seconds.

I will try to push it less and less but I still need to look at the shot of bully's demise which I'm still uncertain of.

Monday, 10 June 2013

Matchmaking Fun

I really should have looked into the tutorials for Matchmaker earlier, as I might've shot it differently. It is not very good at figuring out a tree in the 3d; even with relations and coords.
It's more likely my shots. The dark ones cant be tracked well enough, and I didnt walk around enough to give the solver enough information. I will have to continue wth what I have without manual coords and rely on what the auto gives me.

Wednesday, 5 June 2013

Real Footage continued


I've rendered my selected shots from the footage I shot; into frames for matchmover.
Here is a frame from each of the base shots.


Monday, 3 June 2013

Bully Completion


 FROM


TO


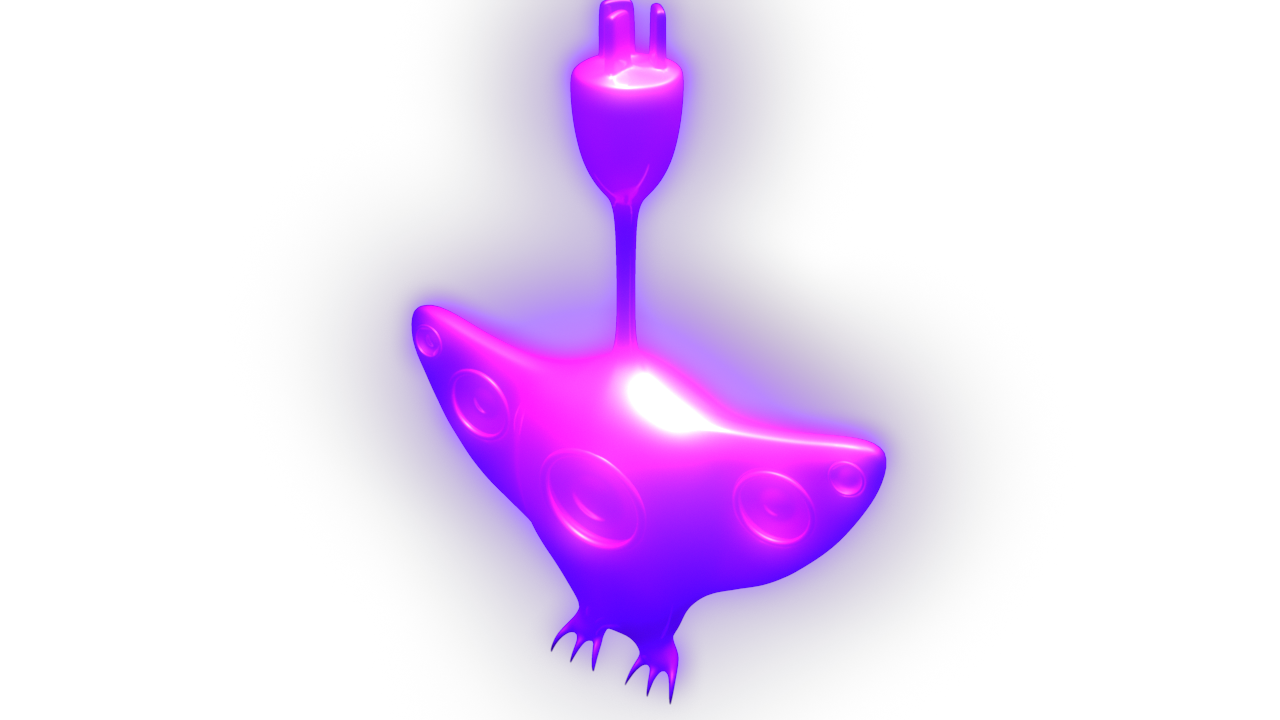
From the skin of the Hero model, I altered the base colour to the intended red.  


A close up of the bully's speakers.


Friday, 31 May 2013

Bully Development


This guy is a bit different to the others, so I tried multiple approaches to creating him. None seemed the best way to do it, but I still got there in the end. Although only his torso is complete at this stage.


Tuesday, 28 May 2013

Real Footage


I really left this far too long, but I have actually been having a lot of trouble finding a suitable location. I have found maybe 2 locations within 1 tree, but only in the last couple days have I found a location with 2 trees that is plausible. 

Although the lighting from the nearby lights did not illuminate this area when the night encroached. I took a small amount of footage and then moved to the larger single tree where the branches are lower and easier to shoot. The lighting was still poor but hopefully it will be enough. I shot it when it was windy and cold, and its harder when you're actually waitng for the sun to set; but knowing it's only getting colder while you stand around freezing.

I'll have to have a go with matchmover and hope for the best.

Sunday, 26 May 2013

Render Passes

Similar to layers, although contents of render passes are not limited to one render pass layer.

Render passes are useful for Depth Maps, Motion Blur, Ambient Occlusion, alternative lighting, alternative qualities etc.

Under render settings, there is an option to create render passes within the master render layer. You can select any combination of components and create a render pass. And then finally associate them.

From the render view, you can now load the individual render passes. Maya organizes these passes into folders for easy access.

DEPTH MAP

Create a render layer without the lights but with the entire scene otherwise. Name this layer depth.
(surface shader, presets, luminescence?)
Old Max, break connections, try 100, 150, 200 or until it's working nicely.

With the rendered images, load them into After Effects and add both to the composition. Add a camera lens blur and add the depth map pass to the blur map. And use the blur focal distance to manipulate the depth of field for the final image.

For Ambient Occlusion, if times allows; blending modes > multiply. Makes the blacks blacker and the white whiter.

Friday, 24 May 2013

Girl Modelled


Girl's face gave me a lot of trouble.


Even smoothing wasn't helping, so I tried it a bit differently.


Works fine, but smoothing makes it worse.


Still a bit rough looking but moving on for now.


The final model with thrusters.

Monday, 20 May 2013

Hero Pose

Messing with the default paint weights after modifying the skeleton again.


Trying to look forward normally .


A single claw pinch, needs work.


These wings need the most work paint weights wise.


This sorta looks like raising ones shoulders or lowering of the head.


A "who's there? wanna fight?!" look.

Identifying a crease by rotating the body.

I need to get a rig working for this guy.

Friday, 17 May 2013

Hero with Thrusters


A shot of success upon getting the thruster to show up.


Refining the intended colouring.


Getting the effect looking nicer.


And finally assigning the second particle emitter.

Monday, 13 May 2013

Hero Re-Textured


Trialling the new glow:

Full glow
Half glow
Low glow
Off


 ~ A little speaker texturing later...  ~


Hero's looking much better now.