Friday 31 May 2013

Bully Development


This guy is a bit different to the others, so I tried multiple approaches to creating him. None seemed the best way to do it, but I still got there in the end. Although only his torso is complete at this stage.


Tuesday 28 May 2013

Real Footage


I really left this far too long, but I have actually been having a lot of trouble finding a suitable location. I have found maybe 2 locations within 1 tree, but only in the last couple days have I found a location with 2 trees that is plausible. 

Although the lighting from the nearby lights did not illuminate this area when the night encroached. I took a small amount of footage and then moved to the larger single tree where the branches are lower and easier to shoot. The lighting was still poor but hopefully it will be enough. I shot it when it was windy and cold, and its harder when you're actually waitng for the sun to set; but knowing it's only getting colder while you stand around freezing.

I'll have to have a go with matchmover and hope for the best.

Sunday 26 May 2013

Render Passes

Similar to layers, although contents of render passes are not limited to one render pass layer.

Render passes are useful for Depth Maps, Motion Blur, Ambient Occlusion, alternative lighting, alternative qualities etc.

Under render settings, there is an option to create render passes within the master render layer. You can select any combination of components and create a render pass. And then finally associate them.

From the render view, you can now load the individual render passes. Maya organizes these passes into folders for easy access.

DEPTH MAP

Create a render layer without the lights but with the entire scene otherwise. Name this layer depth.
(surface shader, presets, luminescence?)
Old Max, break connections, try 100, 150, 200 or until it's working nicely.

With the rendered images, load them into After Effects and add both to the composition. Add a camera lens blur and add the depth map pass to the blur map. And use the blur focal distance to manipulate the depth of field for the final image.

For Ambient Occlusion, if times allows; blending modes > multiply. Makes the blacks blacker and the white whiter.

Friday 24 May 2013

Girl Modelled


Girl's face gave me a lot of trouble.


Even smoothing wasn't helping, so I tried it a bit differently.


Works fine, but smoothing makes it worse.


Still a bit rough looking but moving on for now.


The final model with thrusters.

Monday 20 May 2013

Hero Pose

Messing with the default paint weights after modifying the skeleton again.


Trying to look forward normally .


A single claw pinch, needs work.


These wings need the most work paint weights wise.


This sorta looks like raising ones shoulders or lowering of the head.


A "who's there? wanna fight?!" look.

Identifying a crease by rotating the body.

I need to get a rig working for this guy.

Friday 17 May 2013

Hero with Thrusters


A shot of success upon getting the thruster to show up.


Refining the intended colouring.


Getting the effect looking nicer.


And finally assigning the second particle emitter.

Monday 13 May 2013

Hero Re-Textured


Trialling the new glow:

Full glow
Half glow
Low glow
Off


 ~ A little speaker texturing later...  ~


Hero's looking much better now.


Sunday 12 May 2013

Rigs and Driven Keys, Blocking and Animation

SQUASH

Apply squash to grouped model (if the eye is separate etc). (Or individual limbs) Low bound set to 0 and set the high bound to the top of the model. 

Create a circle nurbs curve and a surrounding rectangle nurbs curve. Call nurbs square as squash_control_outline and the circle as squash_control. Then lock the square.

Animate > Set Driven Key

Select circle and click Load Driver, and select squash1 itself and click Load Driven.
Driver: Translate Y (squash control)
Driven: Factor (squash1)

Bring up the graph editor, linear for a 1:1 relationship.

With circle at the bottom and top of the square, go Limit Information and set min and max.

FOOT

Make the foot controls as we did for the squash two
FootRoll_Outline
FootRoll_Control

Driver: FootRoll_Control (Translate Z)
Driven: Reverse_heel (Rotate X, translate Y and Z)
Driven: Reverse_ball (Rotate X, translate Y and Z)
or whichever you've set up for your model.

Key all 3 steps of the foot and limit how far the control can move.

REFERENCING

In the environment, open reference and load the character from its scene file. Any modifications to the original affect the instance of it in the environment file.

BLOCKING AND ANIMATION

Have perspective and graph editor open. 
Preferences > Settings > Animation. Tangents set to Clamped and Stepped.
Set Keys of all parts of the rig, to set default position.

Block out the main poses first and worry about timing as you fill in the gaps.

Window > Animation > Dope Sheet

To move around the timings of the key poses. Middle mouse drag them around. Grab the summary bar at the top and move the whole pose around.

Once all blocked out, start adding in splines as a case by case basis. Don't just auto everything or it will break and start doing strange things.

More Character Animation

SETTING UP A HIP RIG

With a Nurbs Curve, snap it to the hip joint, Freeze Transform and add a point constrain with the root joint as a Shift select with maintain offset checked. To add rotation, select the Hips curve again and shift select the root spine joint again and add an Orient constraint with maintain offset still on. Now we can lock and hide the scale and visibility attributes.

SETTING UP A KNEE RIG

With a Nurbs Curve in front of the knee frozen transformed and selected , shift select the corresponding ankle iK handle and do a pole vector constraint.

SETTING UP A SPINE RIG

Once it's Nurbs Curves are in place and frozen, individually select each curve and it's joint and Orient Constrain. Then lock and hide all other attributes except rotate. And finally, parent each curve to it's curve below, with the last being parented to the Hips curve.


Character Animation

Principles of Animation:

1. Squash and Stretch (bouncing ball)
2. Anticipation (pre-wind)
3. Staging (clarity of an idea / angled towards the camera)
4. Straight Ahead VS. Pose-to-pose (block out the scene first rather than start to finish)
5. Follow Through and Overlapping Action (thrown javelin)
6. Slow In and Slow Out (ease between motions / more natural)
7. Arcs (limbs swing back and forth through arcs)
8. Timing (Use only as much time as necessary to achieve wanted effect / work it out first)
9. Exaggeration (Accentuating actions and emotions / comical over-the-top)
10. Secondary Action (the extra motion from the character's movement / ears, dress, tail or hair etc.)
11. Appeal (How the audience gets involved with your character)


Friday 10 May 2013

Other Characters Sketched Out


The guy who tries to steal Hero's Girl.


Hero's Girl.

Thursday 9 May 2013

Character Rigging Setup

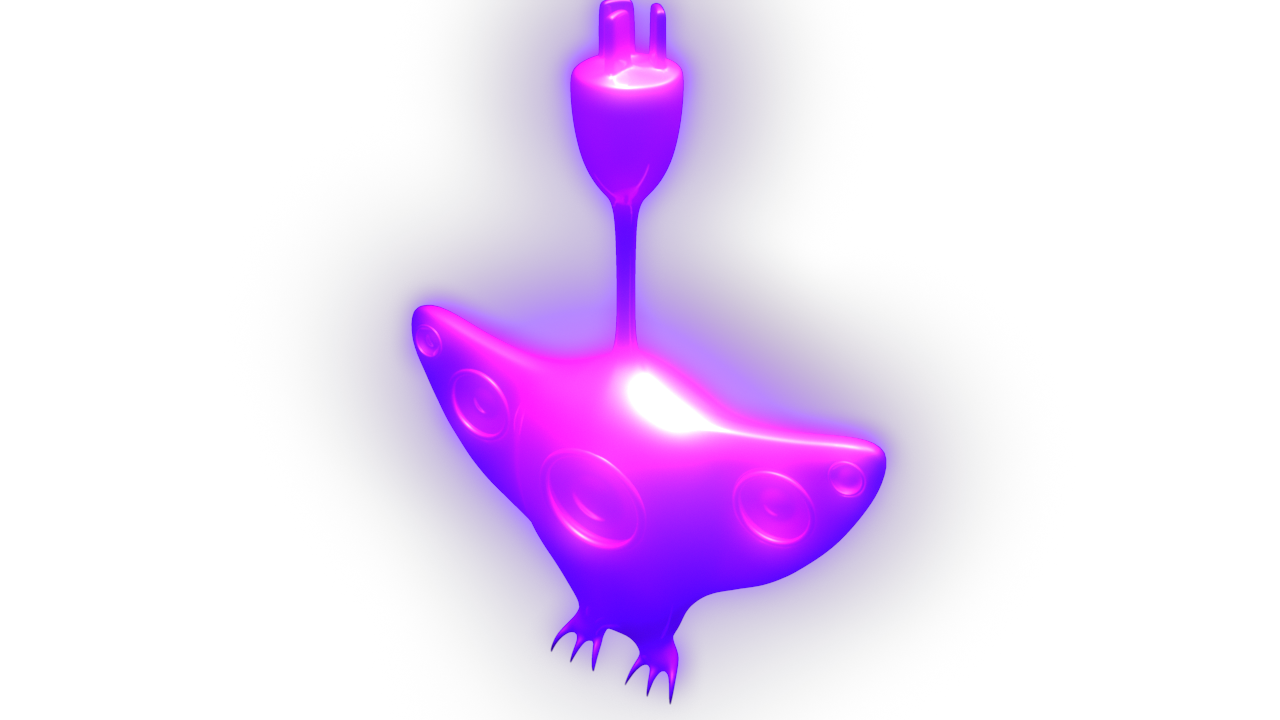
With a completed, textured and centered model,
we need to first Modify > Freeze Transformations and then Delete All By Type > History.
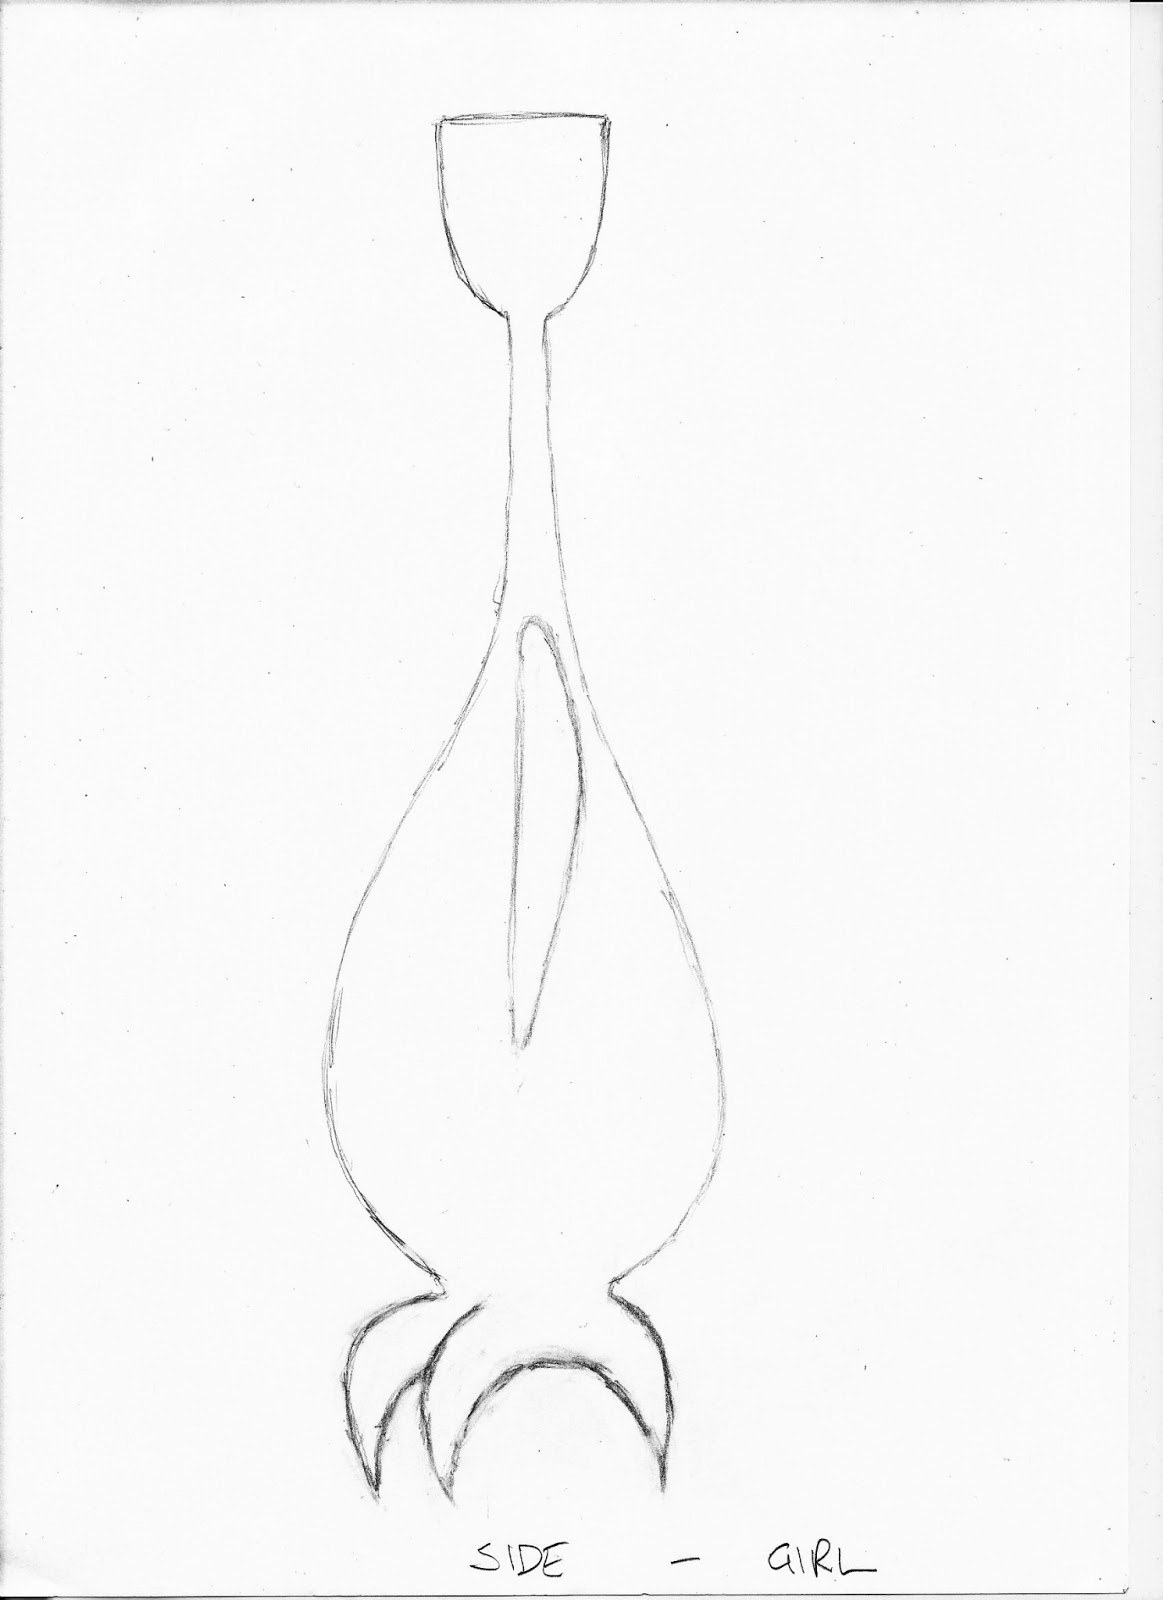
Using the joint tool, we map out the skeleton from the side, snapping to the grid. With symmetrical arms etc, we map these from the front and top; and mirror the joints if applicable.
To do this, we select the joints we want to mirror; and go Skeleton  > Mirror Joints ☐.
As arms or wings will most likely go across the X axis, we want to mirror across the YZ, and replace left with right or vice versa depending.

* Make sure to name everything sensibly, to assign everything to separate layers and to save often*

AIM CONSTRAINT (for eyes etc.)

Create a locator (to be where the eye(s) will look) and then SHIFT select the eye.
Go Constrain > Aim ☐, tick Maintain Offset. Make sure to modify the Aim Vector to ensure the eye
is looking down the correct one.

SETTING UP IK

With the IK Handle Tool, click the joint at the top of the leg, and then click the ankle or bottom of the leg. Add another from the ankle to the foot (or mid foot joint). Selecting these two IK handles will allow for the foot to follow the leg motion and the 2nd will allow for left and right foot movement.

SETTING UP THE FOOT RIG

Using NURBS circles; setup a foot control, a toe control and a heel control for each foot. Then use Outliner to shift the hierarchy; with the middle mouse button, click and drag the IK foot and ankle onto the foot control. Then shift the pivot to the tip of the heel/ankle so it will rotate the foot correctly.

With the heel control, shift the pivot to the foot joint (or mid foot joint). This allows the character to get onto "tippy toes". Shift the IK handle of the ankle to the heel control, and then shift the heel control onto the foot control. Also shift the toe control onto the foot control. 
Now create an IK handle from the foot (or mid foot joint) to the toes; and shift this IK onto the toe control. And finally, shift this IK's pivot to the foot joint (mid).

It is good practice to lock (and hide) attributes that you don't want to be affected and only leave the ones for animating. To bring these back, go Window > General Editors > Channel Control with whatever you wanted to find selected.

Tuesday 7 May 2013

Hero's Skeleton


Most of this works fine, but the neck needs more joints to flex without corners. Which is unfortunate as I had already done most of the smoothing paint weights.

Thursday 2 May 2013

3 INANIMATE OBJECTS


MATERIAL: Blacklight


MOTION: Jet Engine


MEANING: Speaker

Wednesday 1 May 2013

HERO PROFILE

In order to make my three objects compatible (blacklight, jet turbine and speakers,) within 1 creature; I integrated the mating dance of birds as a key factor in my storyline. This ended up as a birdlike creature with a blacklight based body (that can turn off and on, or dim in between). He flies around with turbinelike "feet", searching for a mate. He pumps his speakers, flaunts his wings (more for stabilization than flight) and pulses his light to his beat in an attempt to attract a possible mate. I dubbed this creature as "Hero",
as his personality is rather clusmy but he still has an earnest disposition.


ORTHOGRAPHIC - HERO


HERO IN MOTION


The movements Hero is capable of.

HERO - TURNTABLE


STORYBOARD and silent ANIMATIC


ENVIRONMENT


Somewhere in between, or around about this sort of thing gives the basis for my environment.